


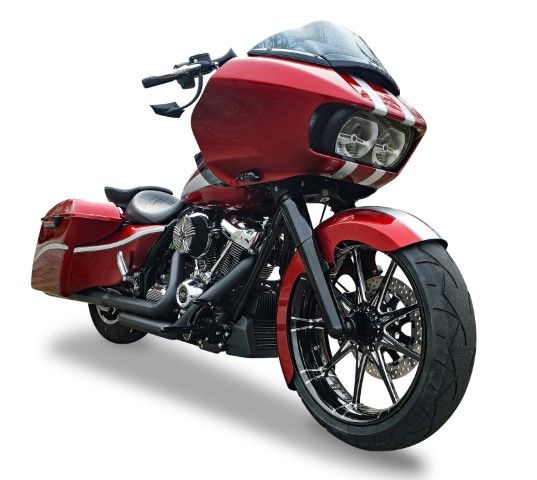
START-UP GUIDE FOR YOUR 21-INCH WHEEL UPGRADE
You'll need to steady the bike and raise the front wheel before you can begin your wheel modification. Using a standard ATV/motorcycle lift is the easiest method to accomplish it. Uncertain of where to purchase one? This kind of lift is typically available at a nearby hardware store.
As soon as you've placed the bike on the lift, make sure you tie it down. The balance will alter after the front wheel is removed. This adjustment will cause the bike to fall off the lift if it wasn't properly fastened.
TAKING OUT THE CALIPERS
Once the wheel is up in the air, you will remove the two calliper mounting nuts that hold each calliper to the bottom fork slider. Make sure the callipers are not left hanging by the braking lines. I advise tying them up and relieving any pressure on the brake lines by using a long zip tie or bungee rope. Here, having a supply of Crown Royal bags is helpful. When stored in the felt bag, a Harley calliper won't accidently rub up against the fender and harm it.
REMOVE THE AXLE NUT TO AVOID DAMAGE TO THE BRAKE LINE.
Remove the axle nut once the callipers have been taken off and secured to guard against potential brake line damage. Depending on the year of your bike, you will need to remove the axle nut from the left side of the axle before removing the pinch bolt or cap from the right side. Harley employs an Allen bolt to tighten the right-side fork slider around the axle on bikes manufactured in 2014 and after. A cover and two nuts with half-inch heads are used to secure that side of the axle on bicycles manufactured in 2013 and earlier.
YOUR UPGRADED WHEEL'S NEXT STEP, SLIPPING THE AXLE OUT
You may now slide the axle out after removing the axle nut, cap, or pinch bolt. When your wheel is in the air, remember that the weight of the entire wheel assembly is on the axle. You can use your lift to gently lower the front wheel, relieving some of this weight pressure, to help solve the problem. If the person who installed the axle the last time used anti-seize on your axle, it should pull out rather easily.
Not all lifts, I've discovered, will let you lower the wheel in this way. It's acceptable if yours forbids such behaviour. a substitute
AWAY THE WHEEL
The old wheel should easily drop out of the forks now that the axle has been taken off. You might need to elevate the bike off the ground using the bike lift because the wheel is on the ground in order to roll the tyre out from under the fender.
Install the new wheel to complete your upgrade to 21" wheels.
Now, to give the new wheel room to roll, we normally lift the current front fender. Keep in mind that you must have adequate clearance to avoid damaging your brand-new wheel.
FOR CLEARANCE, DRILL THE MOUNTING HOLES
On versions from 2000 to 2013, it's frequently acceptable to drill out the attachment holes on the fender. Drill them with the drill size above.
You can reattach the fender after enlarging the holes while leaving the fasteners exposed. Push up on the inside of the fender as you tighten the fender mounting nuts to ensure that your fender is raised high enough to clear the tire.
Check the wiring for the tip light if you have one while you're in there. The wiring harness was recalled by Harley. The wires were used to grind against the fender since there weren't enough clips to hold them to the fender.
CONFIGURATION OF THE NEW 21" WHEEL
You should reinstall the wheel in reverse order after your fender has the appropriate clearance. The wheel should be put in place first, then the axle should be moved through the fork legs and wheel hub. For the correct torque specifications for each fastener you are reinstalling, make sure to consult your owner's manual or service manual.
You must correctly torque your front axle nut by adhering to the recommendations in the service manual. Next, attach the right-side fork slider to the pinch bolt or cap. This would be the time to torque the pinch bolt as well, if your front end has one instead of a cap. You'll then put on your callipers. If you are using new rotors, make sure to utilise fresh brake pads.

You must be logged in to post a comment.