

Wallpaper Fixing Dubai is a fantastic way to bring texture, color, and personality to your home’s interior. Whether you're aiming for a modern minimalist vibe or a classic vintage charm, wallpaper can transform any space. But to get a polished, professional look, proper wallpaper fixing is essential. Here’s a complete guide to help you fix wallpaper like a pro.
Why Choose Wallpaper?
Wallpaper has made a huge comeback in recent years. It offers endless design possibilities—from intricate patterns to bold colors and even 3D effects. Unlike paint, wallpaper can hide wall imperfections, add warmth, and create an accent wall that truly stands out. It's also relatively easy to update when trends or your personal taste changes.
Tools and Materials You'll Need
Before getting started, gather the necessary tools:
-
Wallpaper rolls
-
Wallpaper adhesive or paste (pre-mixed or powdered)
-
A smoothing brush or plastic smoother
-
A utility knife or snap-blade cutter
-
A measuring tape and pencil
-
A plumb line or level
-
A sponge and clean cloth
-
A wallpaper brush or roller
Optional but helpful tools include a seam roller, a steamer for removal (if you're replacing old wallpaper), and a pasting table.
Preparing the Wall
Good preparation is key to a flawless finish. Begin by cleaning the wall to remove dust, grease, or old paint flakes. If you're removing old wallpaper, ensure all residues are cleaned off and the wall is dry. Fill any holes or cracks with wall filler and sand smooth.
Once the wall is smooth and dry, apply a primer or wallpaper sealer. This helps the wallpaper stick better and makes future removal easier.
Measuring and Cutting
Measure the height of your wall and cut the wallpaper strips accordingly, leaving about 2 inches extra at both the top and bottom for trimming. If your wallpaper has a pattern, align the design carefully before cutting subsequent strips.
Use a plumb line or level to draw a straight vertical line from ceiling to floor—this will be your guide for the first strip to ensure it goes on straight.
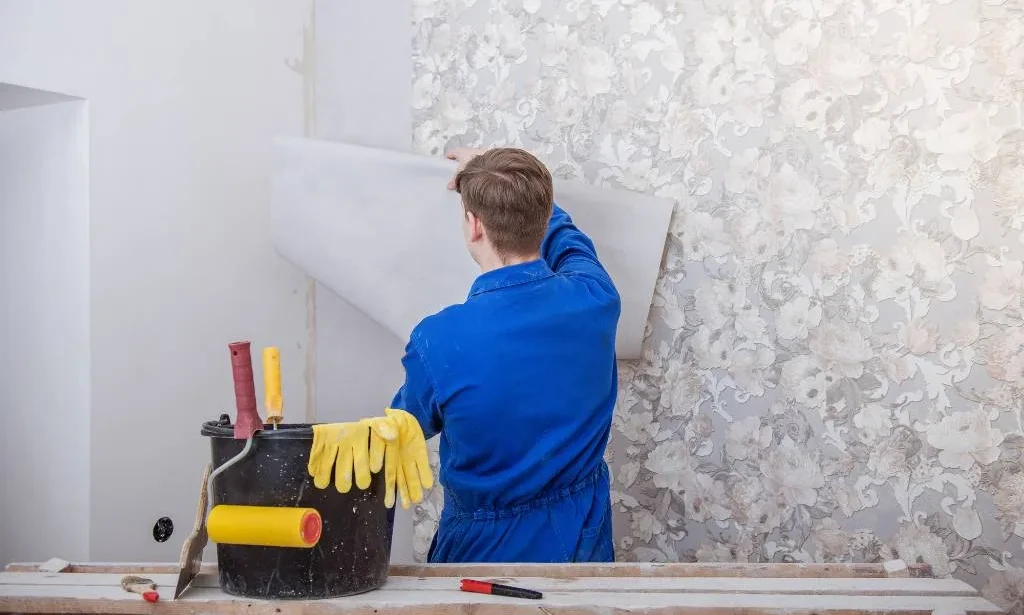
Applying the Wallpaper
Apply adhesive to the back of the wallpaper (unless you're using pre-pasted wallpaper), folding it in a process called “booking” to let the paste soak in for a few minutes. Carefully place the strip on the wall, aligning it with the plumb line. Smooth it down from the center outward to remove air bubbles.
Use a utility knife to trim excess wallpaper at the top and bottom. Wipe away any excess glue with a damp sponge before it dries.
Repeat the process for each strip, carefully matching patterns and pressing seams gently together.
Final Touches
After all strips are applied, inspect your work for bubbles or loose edges. A seam roller can help press down any lifted edges. Allow the wallpaper to dry fully, keeping the room well-ventilated.
Conclusion
Wallpaper fixing might seem intimidating at first, but with patience and the right technique, it’s a rewarding DIY project that can dramatically improve the look of your home. Take your time with the prep, measure twice, and smooth carefully—and you’ll be admiring your handiwork in no time.

You must be logged in to post a comment.